

Our cabinet footprint clearly followed the Westfalia design with just a few variations that were based on our personal preferences and habits. We decided that we didn't need a built in stove or sink, we prefer to do cooking and eating outside, but we wanted plenty of counter space.
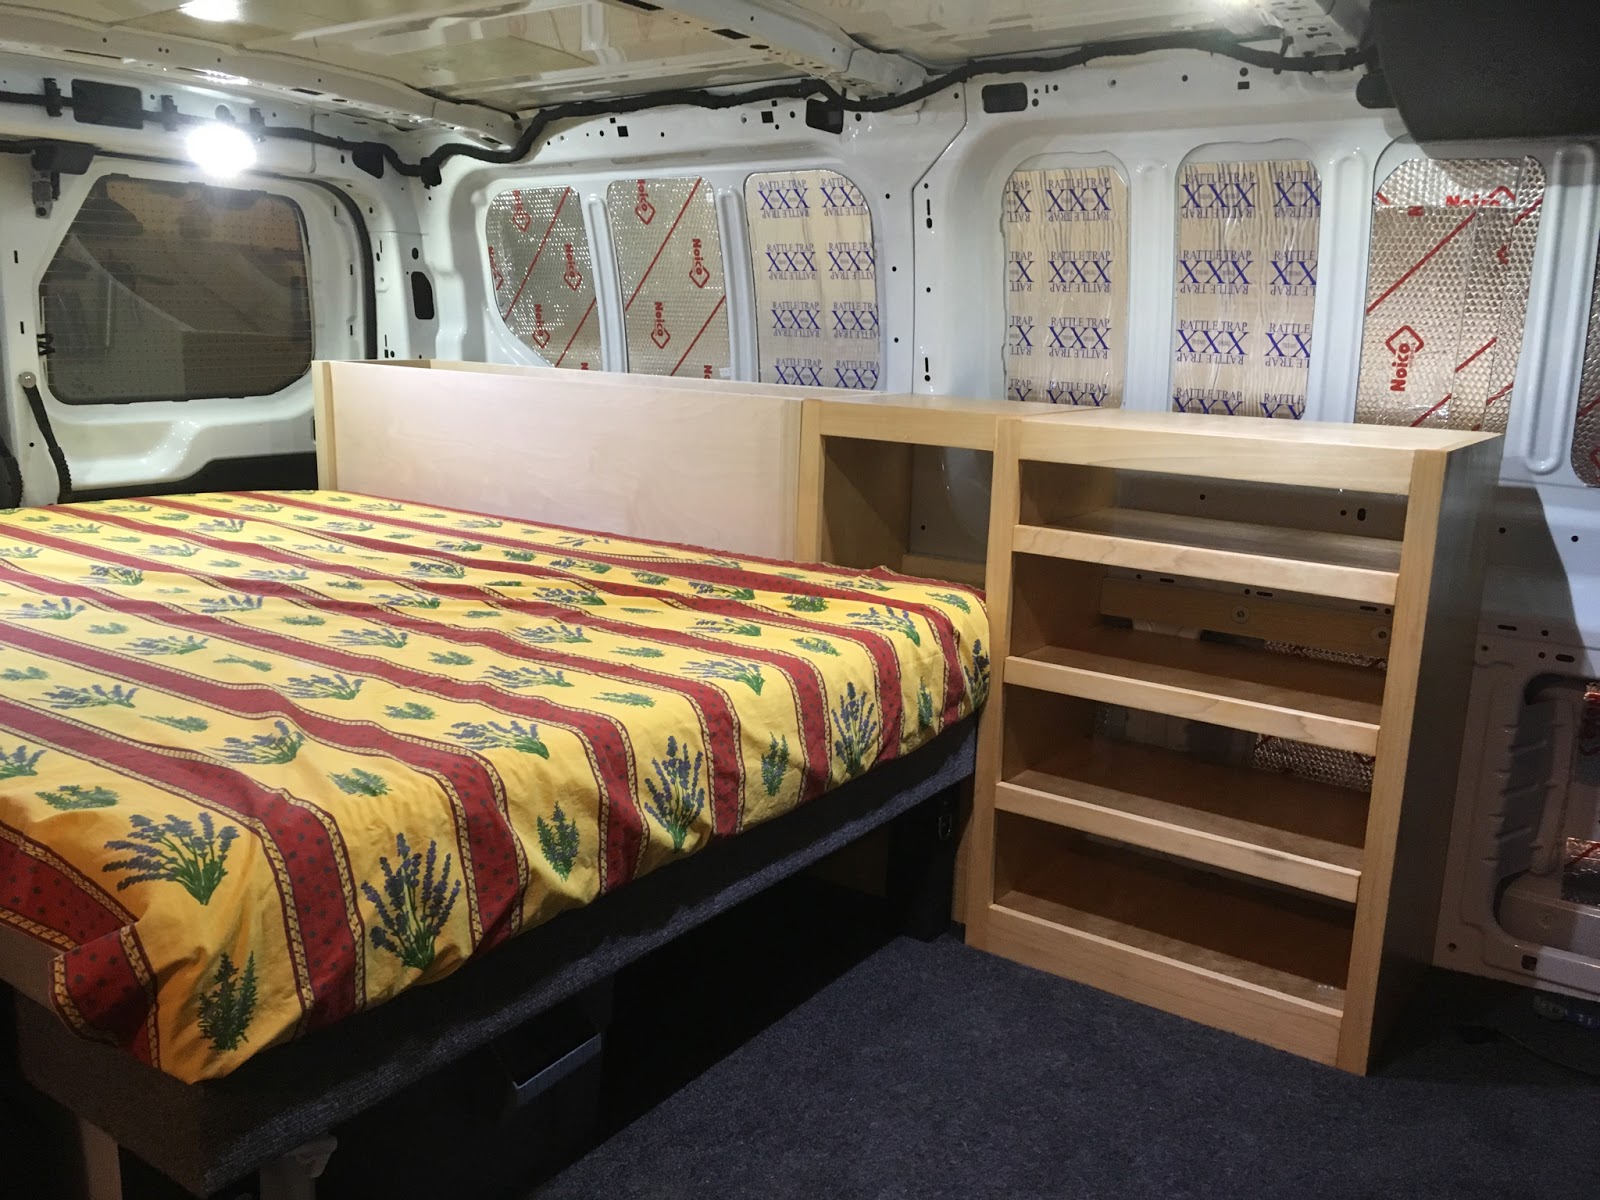
Our two years of camping with our Eurovan led us to replicate the GoWesty "Fridge-B-Gone" shelving unit which provides us with open shelves on which we could store bins of various sizes.

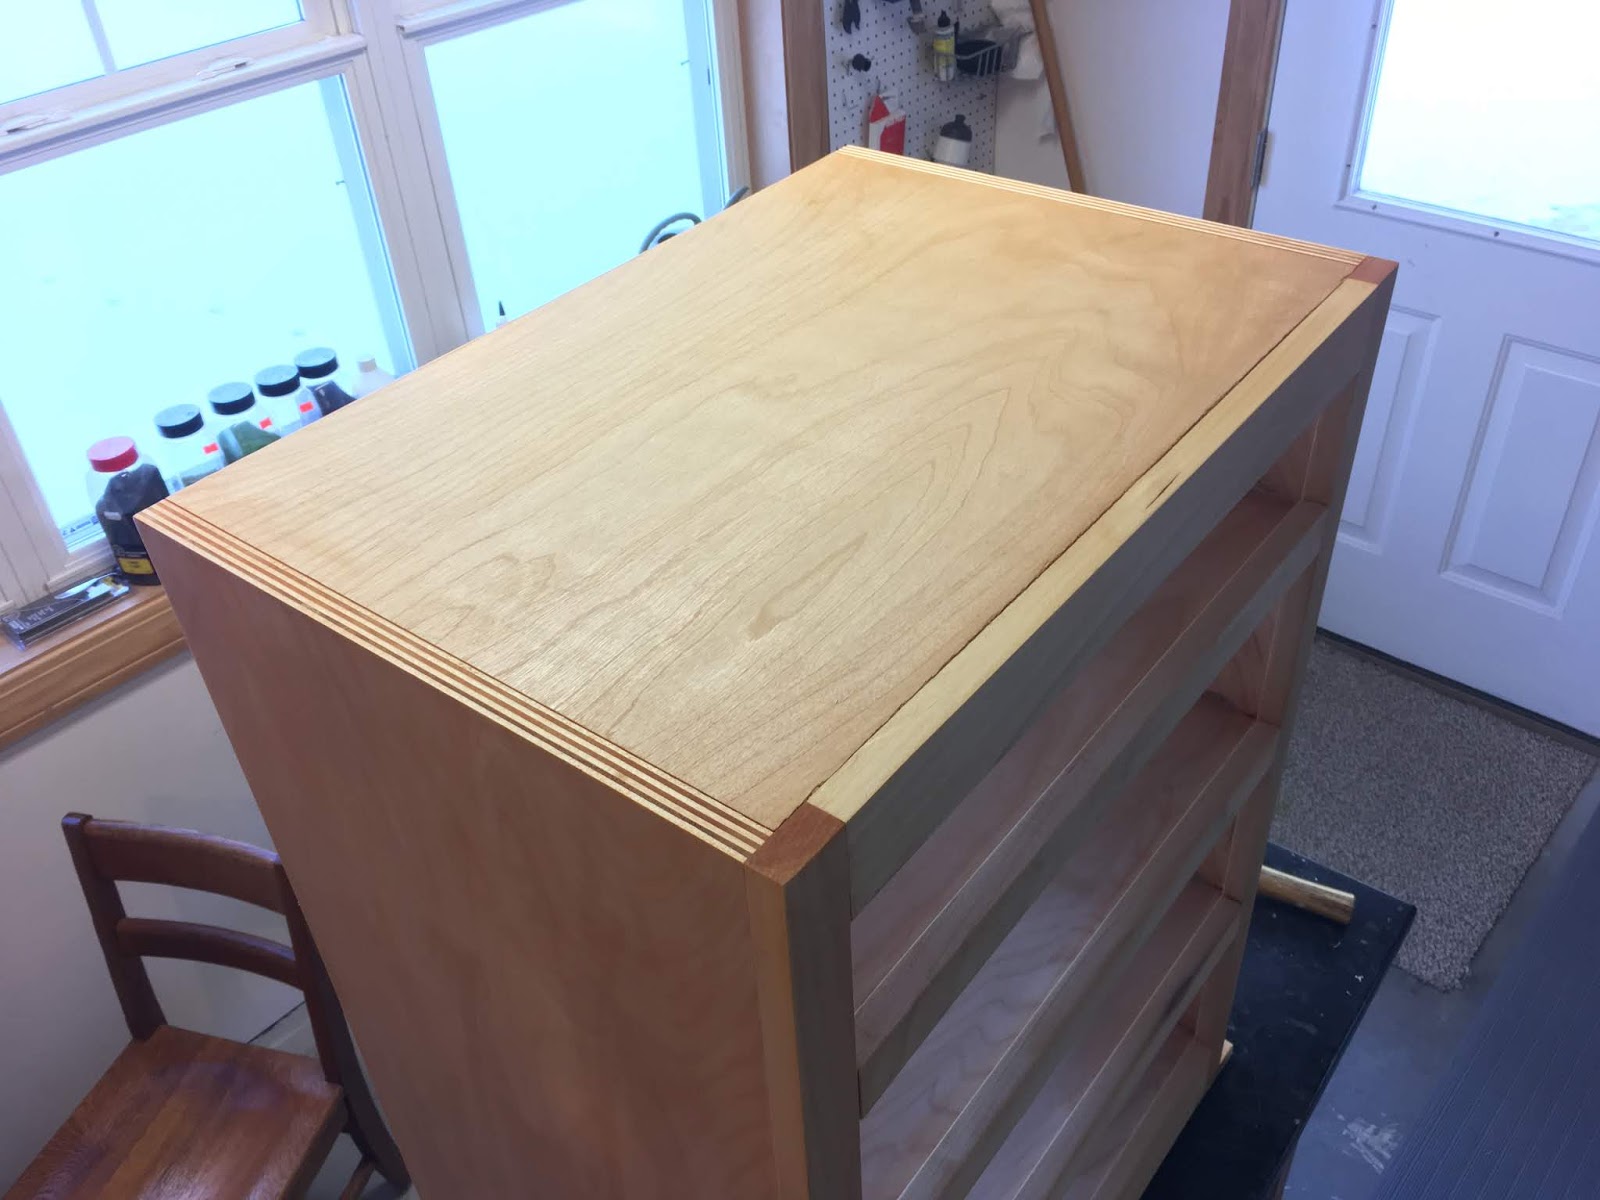
For our cabinets material we chose 3/4" baltic plywood and faced it with 1"wide poplar. I used a Kreg pocket jig to join the surfaces and I finished the wood with Minwax polyurethane. The Kreg pocket screws create an incredibly strong and tight joint...very sturdy.
In order to attach the cabinets to the walls of the Transit I used 1/4" PlusNuts,which are easily mounted in the predrilled holes of the vans, and stainless steel button head screws to screwed into the PlusNuts.

Cleats were screwed across the backs of the cabinets at the proper height to line up with the PlusNuts.

Hanger bolts that have threaded woods screws on one end and bolt threads on the other were used to line up the PlusNut locations with the cleats on the backs of the cabinets.

We refer to this cabinet as "the hamper". It opens on front and it is as deep as the floor of the van. we use it to store sleeping bags, pillows, & our bottle jack. Eventually we added a door which hinges at the bottom of the opening and is held closed with a magnet


Our 3rd cabinet, which we refer to as "the coffin", functions a lot like a blanket chest and is used to store a variety of items. It opens from the top using a full length piano hinge to hold the lid in place.
"The coffin" is 15 inches deep. so the space below it is open and accessible from the rear of the van.


The lid on "the coffin" closely slowly with a single stay purchased through Amazon.

For a counter top, I used a single piece of 3/4" birch plywood and trimmed it with poplar just as I did with the cabinets.

After a few camping trips we decided we could add some additional storage by placing a small cabinet underneath the fridge. The height of the fridge does restrict how far back the drivers seat can be tilted, so I had to experiment with the dimensions of this last cabinet.

No comments:
Post a Comment